DIY roof repair is a popular topic for homeowners looking to save money on their home repairs. While it’s possible to do some basic repairs yourself, there are certain types of work that should be left to experienced professionals.
Understanding what tasks you can and cannot handle safely is key when it comes to ensuring your roof remains in good condition.
This article will discuss the different aspects of DIY roof repair so readers know how they can determine which projects are best suited for them.
Assessing The Damage
When repairing a roof, it is essential to accurately identify the issues that need attention.
This can be done by inspecting the roof from both inside and outside of the house, looking for any signs of water damage or leaks.
Look out for discoloured patches on ceilings, as well as cracked tiles and pieces of broken slate.
Additionally, check any exposed timber beams in the attic space for rot or other forms of deterioration.
If you are unsure about what needs to be done, take photographs of any visible damage and contact an experienced professional who will be able to provide advice and assistance with getting your roof back up to standard.
In some cases they may even recommend a full replacement over attempting repairs yourself.
Preparing The Roof For Repair
It is essential to prepare the roof before beginning any repairs. This includes installing scaffolding and inspecting the seams of the roof carefully for any signs of damage or wear and tear.
Installing a sturdy scaffold is vital when working on repairing a roof, as it provides protection from falls and also allows you to reach higher points with ease. It is important to inspect all seams around the edges of your roof; if they are not sealed properly, water can seep in which will compromise the structural integrity of your home. Additionally, check for loose nails or fasteners that may need tightening. The condition of the shingles should be evaluated too and replaced if necessary.
When inspecting the roof, look out for areas where moisture has collected due to poor ventilation – this could cause rot or other issues down the line if left unchecked. Make sure there are no clogged gutters or drains as well; these will prevent rainwater from draining away correctly, leading to more serious problems such as dampness and mold growth inside your home.
Taking care of these simple steps prior to beginning repair work will ensure that everything goes smoothly and that you get an effective result at minimal cost!
Selecting The Appropriate Materials
Once the roof is prepared for repair, selecting the appropriate materials becomes a key step in ensuring successful repairs.
It is important to consider the desired outcome of each project before choosing tools and materials. This can help determine which products are best suited for different types of repair jobs based on their structure, durability, and cost-effectiveness.
When evaluating cost, it is essential to factor in not only the upfront costs but also factors such as maintenance requirements or potential future damage that could arise from using certain materials.
For example, when repairing asphalt shingles with sealant tape or plastic cement instead of replacing them outright may be more cost-effective initially; however, due to their low durability, they may need to be replaced sooner than expected resulting in higher long-term expenses.
Thus taking into consideration all these points will ensure that DIYers have access to the right materials necessary to complete any job safely and efficiently.
Understanding Safety Procedures
When undertaking a DIY roof repair, safety should be the primary concern.
Inspecting safety equipment and wearing protective gear are essential steps for any successful project.
It is important to properly inspect ladders and other tools before beginning work on the roof. Make sure all of the required tools are available and that they are in good condition.
The ladder should also be placed securely against a solid surface to ensure it won’t slip or move during use.
It is critical to wear proper clothing when working on roofs as well. Long pants, long sleeves, gloves, eye protection, steel-toed boots and hard hats must always be worn while repairing roofs.
In addition, never do roof repairs alone; make sure there is someone nearby who can provide assistance if needed.
By following these simple guidelines and taking necessary precautions, one can successfully undertake a DIY roof repair with confidence.
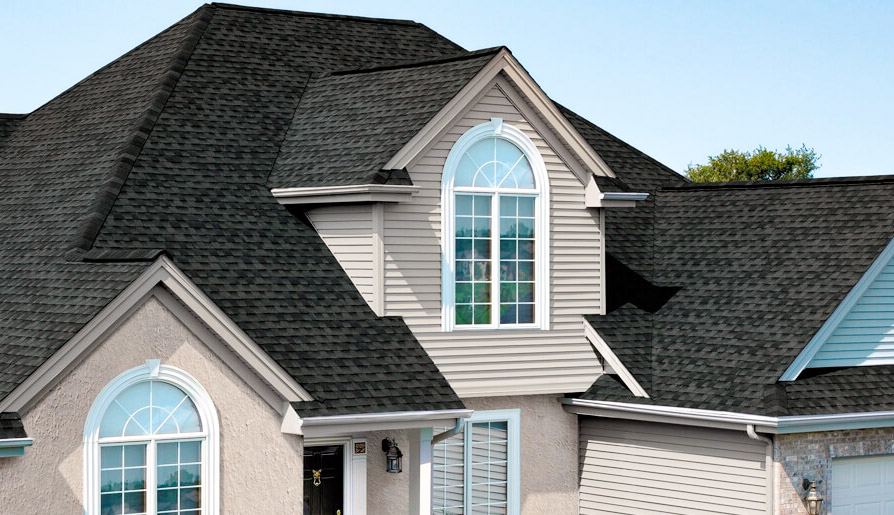
Repairing Shingles Or Tiles
Safety is paramount when it comes to roof repair, and understanding safety procedures is the essential first step. Having established a knowledge base, repairing shingles or tiles can be tackled with greater confidence.
Installing underlayment should always begin by inspecting gutters, as any loose debris must be removed before work can commence. This will ensure that no extra weight is added to the roof which could cause further damage. To complete this task, you may need assistance from someone on the ground – preferably an experienced professional if possible.
Next comes securing your chosen type of underlayment material in place using nails and adhesive strips. It’s important to use high-quality materials here; cheap alternatives are likely to break down over time and create additional problems for homeowners down the line.
After installation has been completed, inspect all areas once again for any gaps or leaks which might have occurred during the process. If necessary, correct these issues immediately and test run again until satisfied that everything is secure.
Replacing Roof Flashing
The task of replacing roof flashing is a necessary part of any DIY roof repair. It requires careful attention to detail, as even the slightest mistake can lead to serious damage or leaks in the future.
Roof flashing installation begins with taking measurements and cutting each piece precisely; then, gaskets should be installed at each joint before applying caulk along all edges. This ensures that water will not penetrate into any portion of the roofing system and cause further deterioration over time.
The process may require multiple rounds of caulking, ensuring that every corner and edge is perfectly sealed against moisture while still allowing for natural expansion due to changes in temperature. Once satisfied, it’s important to inspect the entire area one more time before moving on.
Sealing A Roof
After replacing the roof flashing, the next step in DIY roof repair is sealing the roof.
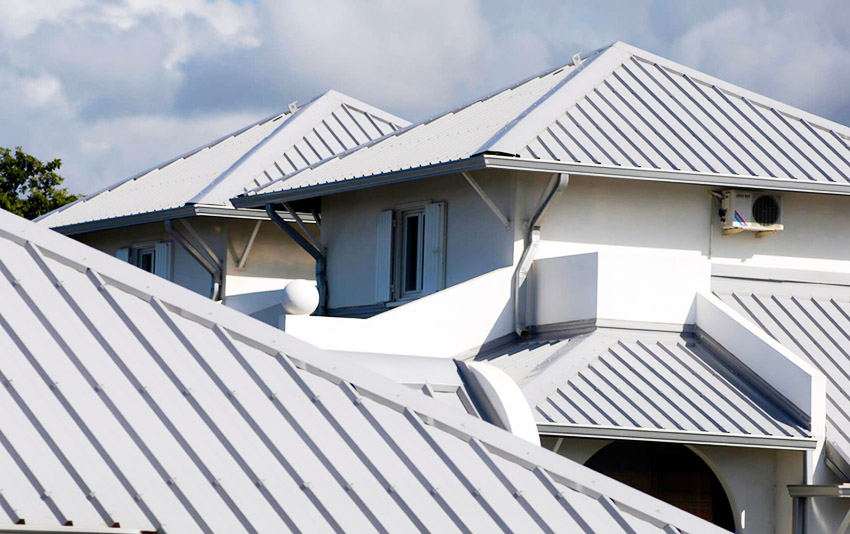
Repairing or replacing metal cladding and gutters are two key components to achieving waterproof protection for your home.
To begin, examine any gaps near the joints of the metal cladding around the house that may be allowing water through. These can usually be filled with caulk or sealant directly from a tube. Make sure you use products specifically designed to fix metal surfaces as these will offer better adhesion than generic products.
Once all leaks have been patched up, it’s time to check on the gutters. Gutters provide an essential role in managing rainwater runoff by channeling it away from vulnerable points such as windows and doors. If they become blocked with debris or damaged due to age, then this needs to be addressed immediately before further damage occurs.
Check both inside and outside of gutter systems for dirt buildup and inspect them for signs of rust or other defects which might need repairs or replacement parts installed. Clean out existing gutters thoroughly using a brush while also removing leaves and twigs that could clog drainage outlets later down the line.